Showing posts with label beauty. Show all posts

Homemade Shaving Scrub

Homemade Shaving Scrub

In our quest for smooth, glowing skin, we often turn to commercial products packed with chemicals and artificial additives. However, the solution to achieving healthy skin may lie closer to home. Natural ingredients, such as lemon juice and sugar, have been used for centuries in beauty routines due to their remarkable benefits. In this blog post, we'll explore the wonders of lemon juice and sugar as we delve into the creation of a homemade shaving scrub that will leave your skin feeling refreshed and rejuvenated.


Homemade Shaving Scrub

Natural Ingredients

Lemons
Did you know, lemon juice in packed with vitamin C and boasts a range of benefits when topically applied to the skin. The citric acid in lemon juice acts as a gentle exfoliant, removing dead skin cells. It also has natural bleaching properties which can brighten skin and lighten scars or spots. It can also reduce excess oil in your skin!

Sugar
Sugar is a fantastic skincare ingredients and regularly features in my homemade beauty products. The granules of sugar work as a natural exfoliant and can help unclog pores, preventing razor bumps and ingrown hair! Sugar also locks in moisture to leave your skin feeling soft and nourished! Sugar can also help promote the production of collagen. I've said it before and I'll say it again, sugar is an amazing natural skincare ingredient!

Now that we understand the amazing benefits of lemon juice and sugar, let's combine them to create a gorgeous shaving scrub. It exfoliates your legs, helps you to get a closer shave and give you smooth fuzz free legs!

How To Make Homemade Shaving Scrub

Although this homemade scrub is made of natural products, I still wouldn't recommend using it on your intimate areas or arm pits. Just legs and arms.

You Will Need;

* 1 & 1/2 cups of granulated sugar
* 1 cup oil (baby oil, olive oil or coconut oil)
* 3 tbs lemon juice

1. Add all the ingredients together in a bowl and mix well, really well.

2. Pop the mixture into a cute jar

3. You can use the scrub on dry or wet skin, but I recommend getting your legs wet first and then doing it. So just pop the shower on for a minute or so and turn it off again.

4. Slather your legs in the scrub, and shave! You don't need to wash off the scrub to shave.

5. Add some more scrub, and shave again!

6. Wash the scrub off well and moisturise after your shower and you're good to go!

Homemade Shaving Scrub


Have you ever made a DIY face mask before? 

I'd love to hear if you give this one a go! 


If you have enjoyed reading this post, and found it interesting or helpful, you can say thank you and support Whimsical Mama by buying me a coffeeI'd really appreciate it! 


Homemade DIY shaving scrub


Homemade Rose Face Mask For Normal and Combination Skin


Homemade Face Mask For Normal/Combination Skin


When it comes to skincare and pampering, a good facemask is essential! Although it probably seems a lot less hassle to pop to the shop and purchase the first facemask you see - it's so much better for your skin, and your wallet to make your own!

Making your own facemask doesn't have to be complicated, and it definitely wont be pricey! You'll be able to ensure all the ingredients are natural and you'll know every ingredient in it unlike store bought products.  Natural products can do absolute wonders for your skin, while detoxing and moisturising your skin, removing impurities and unclogging pores. What's not to love about that?

I've already shared my absolute favourite facemask for dry and sensitive (and sunburnt!) skin, but today I'm sharing my go-to homemade mask for normal or combination skin.

Homemade Rose Face Mask For Normal and Combination Skin

Natural Ingredients


Roses
Did you know that roses have anti-inflammatory and anti-bacterial properties? Roses have been used in skin care for years and they can help reduce redness and moisturise your skin too. 

Rose can calm and soothe your skin, as well as reduce redness - so it's a fantastic product for acne prone, or oily skin. It helps to clean away impurities and dirt, while locking the moisture into your skin to keep your skin soft and supple.

Roses are also full of vitamins, to protect and hydrate your skin and due to the gorgeous scent of rose, it can even help you relax and brighten your mood too! They are really amazing plants. 

Honey
Honey has a wonderful array of beneficial properties for your skin (it's a regular ingredient I use for homemade skincare products!). Honey is antibacterial, and anti-septic so it will really clean out your pores, remove dirt and bacteria and it can even treat acne. It's also moisturising and soothing - ideal for sore or dry skin. Plus Honey is full of antioxidants, so it'll help boost collagen production, nourish damaged skin and even fade scars!

Natural Yogurt
Natural yogurt has a huge range of skin care benefits too, many are similar to honey and rose but yogurt is best at soothing and cooling your skin. It'll help revitalise and hydrate your skin if it's feeling dry or sore. It's really just a huge moisturise boost for your skin - plus it can help fade blemishes and fine lines too. PLUS, it's antibacterial and anti fungal too. 

See, with all these fantastic ingredients, do you really want to go back to store bought facemasks?


How To Make Homemade Face Mask

This Rose face mask is really quick to put together. With just 4 ingredients, it'll only take about 10 minutes max. Plus, if you make a bigger batch, it can be popped into the fridge for up to a week!

You Will Need:
* 2 Tbs Natural Yogurt
* 2 Tbs Rosewater
* 3 Tbs Manuka or Raw Honey
* A handful of rose petals

The cheapest, most basic natural yogurt will work for this face mask! (Just ensure it's flavour free, it'll usually be about 50p) You can easily purchase natural rose water, or you could make your own even easier, pick a few rose petals from the garden and you're nearly there!

Lastly, you'll want to use Manuka or raw honey, as the basic, cheapest store bought honey's are usually overflowing with sugar - look for something a little more natural. HUGE bonus if you can purchase a jar of local honey. 

1. First things first, you'll want to wash the rose petals with cold water. Allow them to soak for a few minutes to wash off any bugs or dirt. While the rose petals are soaking, you can mix up the rosewater, honey and yogurt in a bowl.

2. Once the rose petals have finished soaking, you can crush or rip them up and add them to the mixture. 

3. Either using a pestle and mortar, or by popping it in the blender - combine all the ingredients well together. Using a blender does create a smoother face mask and therefore, easier to apply - but it's really up to you.

4. Using clean fingers, apply the mixture in gentle circular motion to your face, décolletage and neck. Be sure to avoid your eyes, nostrils and mouth.

5. Leave the mask to dry on your skin for about 15-20 minutes. You should feel the mask soaking into your skin, hydrating and tightening it almost immediately.

6. Rinse off the face mask using cool or warm water. I generally like to wash masks off with my hands and finish it off with a light scrub using a soft wash cloth.

7. Pat your skin dry and apply your normal moisturiser - and enjoy your radiant skin!


Have you ever made a DIY face mask before? 

I'd love to hear if you give this one a go!  


If you have enjoyed reading this post, and found it interesting or helpful, you can say thank you and support Whimsical Mama by buying me a coffee

I'd really appreciate it! 

Homemade Rose Face Mask For Normal and Combination Skin


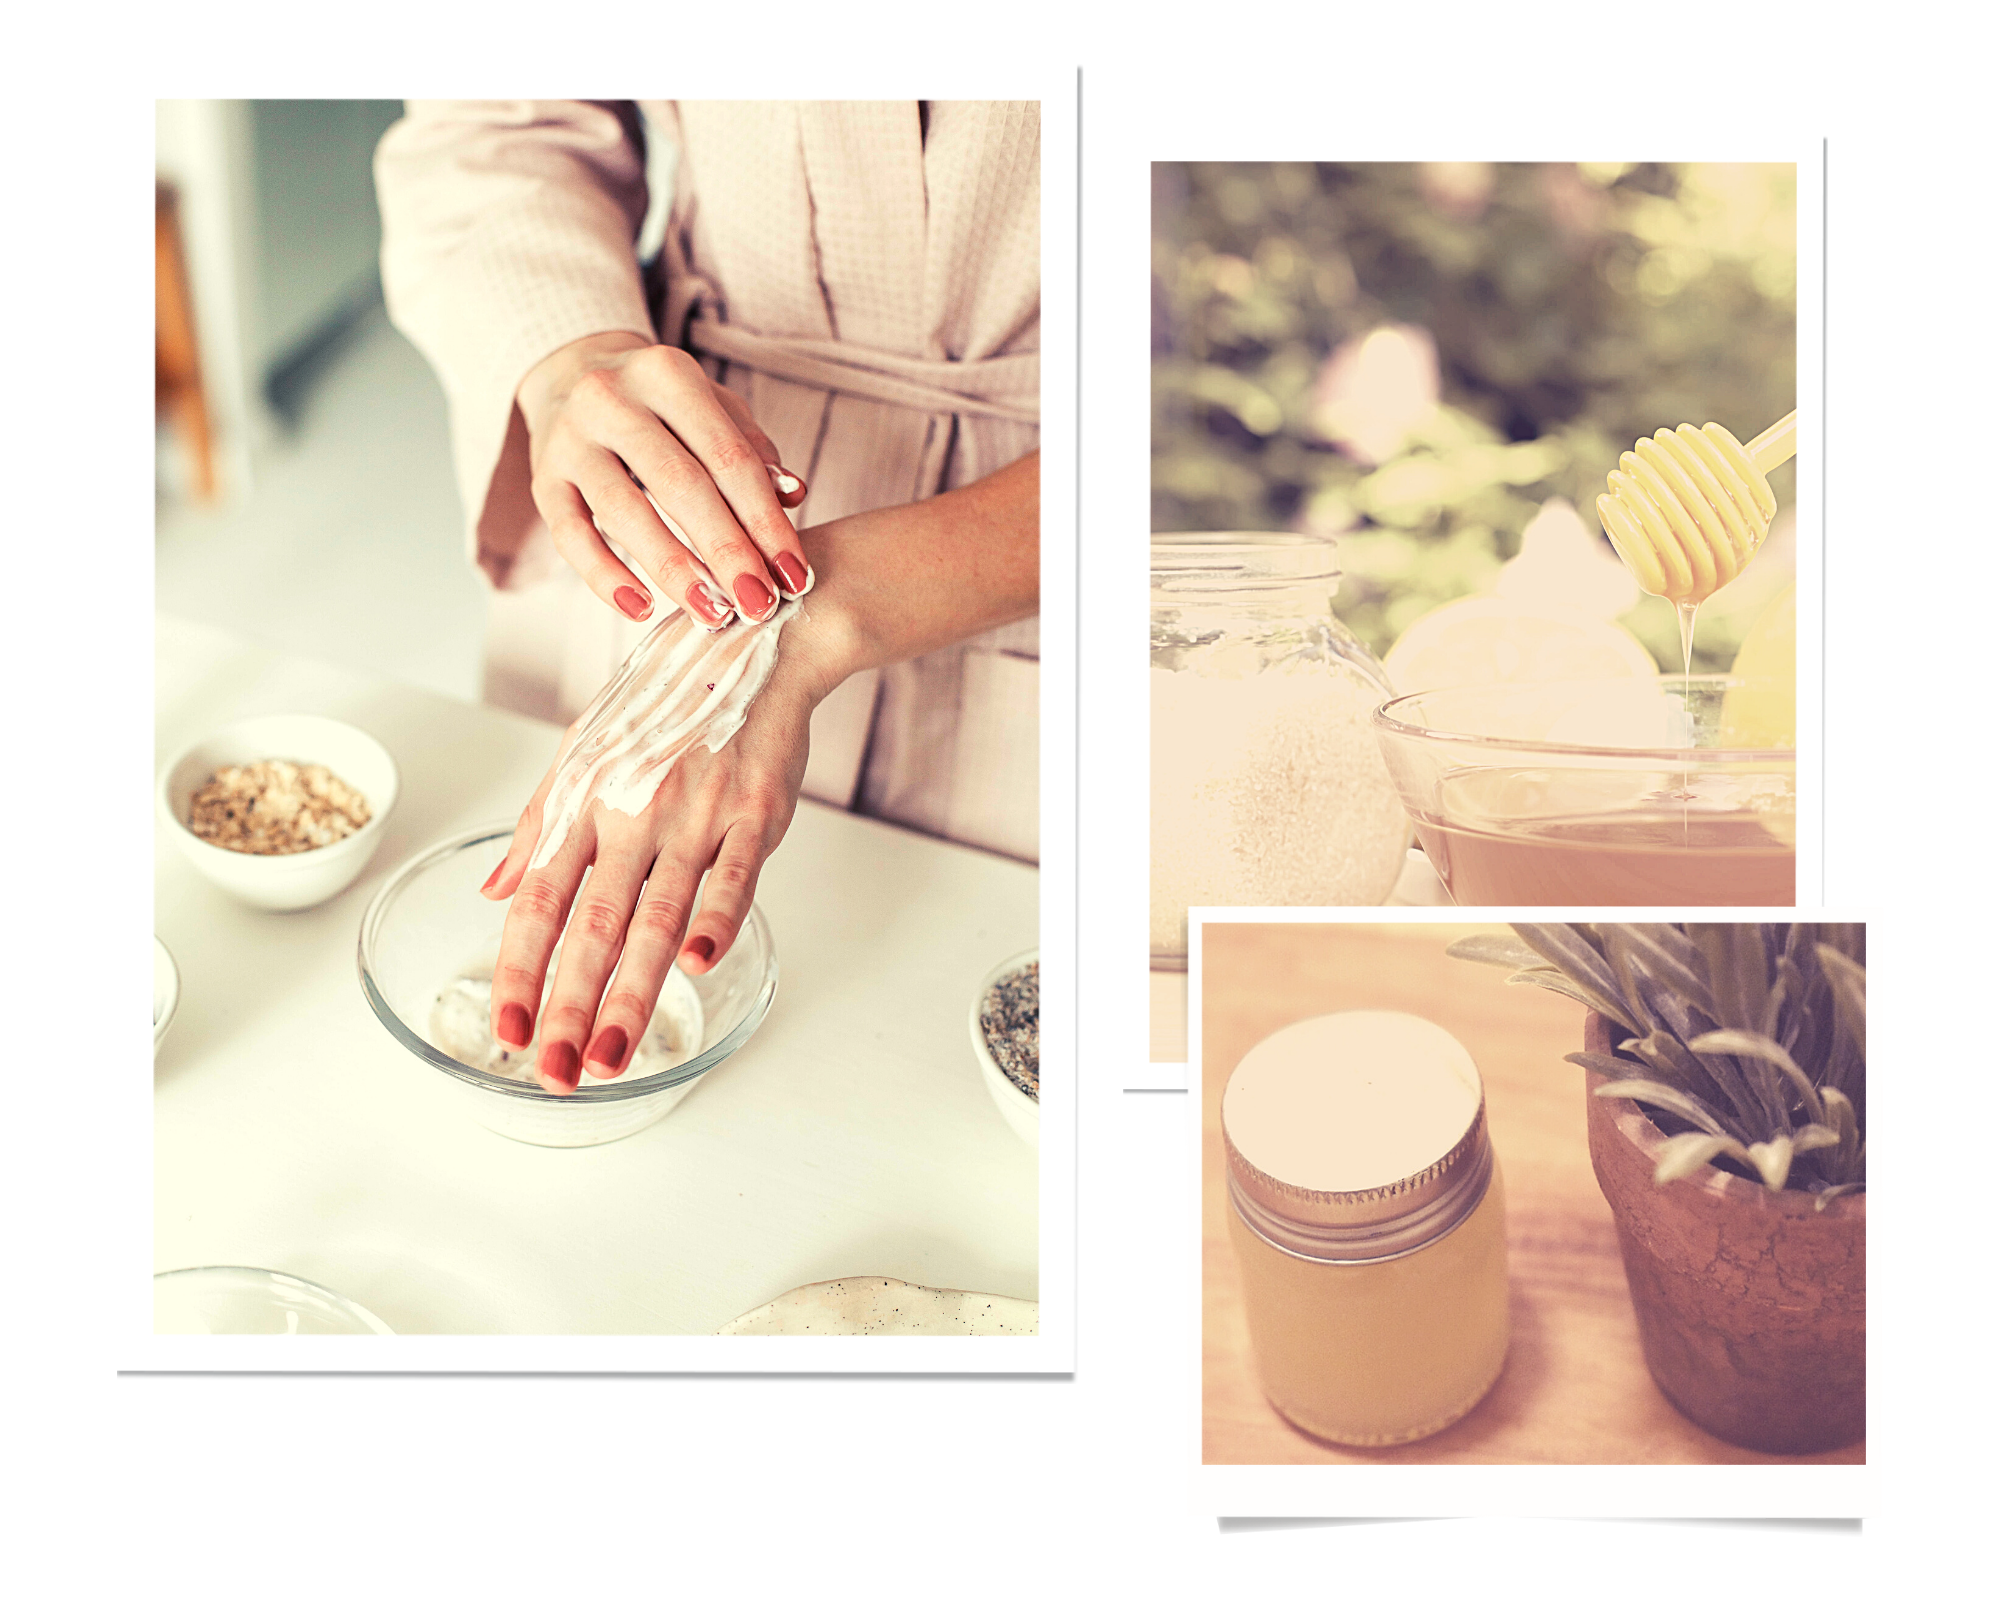
 I wanted to bring you a quick, cheap & very simple tutorial. I'm going to show you how to make a homemade hand scrub. It's perfect for rough or dry hands & feet, that'll leave them gorgeously soft and smooth!


Homemade Hand Scrub

This hand scrub couldn't be simpler to make, with just two ingredients, no heating, boiling, just mixing two very basic store cupboard ingredients together!


This gorgeous scrub is helps protect your skin's natural moisture barrier, gently exfoliates and softens without being oily or greasy.


Sugar

Sugar draws in moisture and therefore will help retain moisture on the skin. Plus sugar is a wonderful, gentle exfoliant, buffing away dead skin cells and pollutants for a plump, fresh look. Sugar can help brighten tired skin and fight signs of aging! It's really an amazing ingredient for your skin!


Honey

Honey has natural moisturising properties, another fantastic ingredient for homemade body products. Once applied to the skin, it will deeply penetrate and hydrate your skin. Honey also brightens and tightens your skin, providing a gorgeous, fresh glow. Honey can also calm and soothe skin conditions such as eczema. (Patch test first though).


How To Make Homemade Hand Scrub

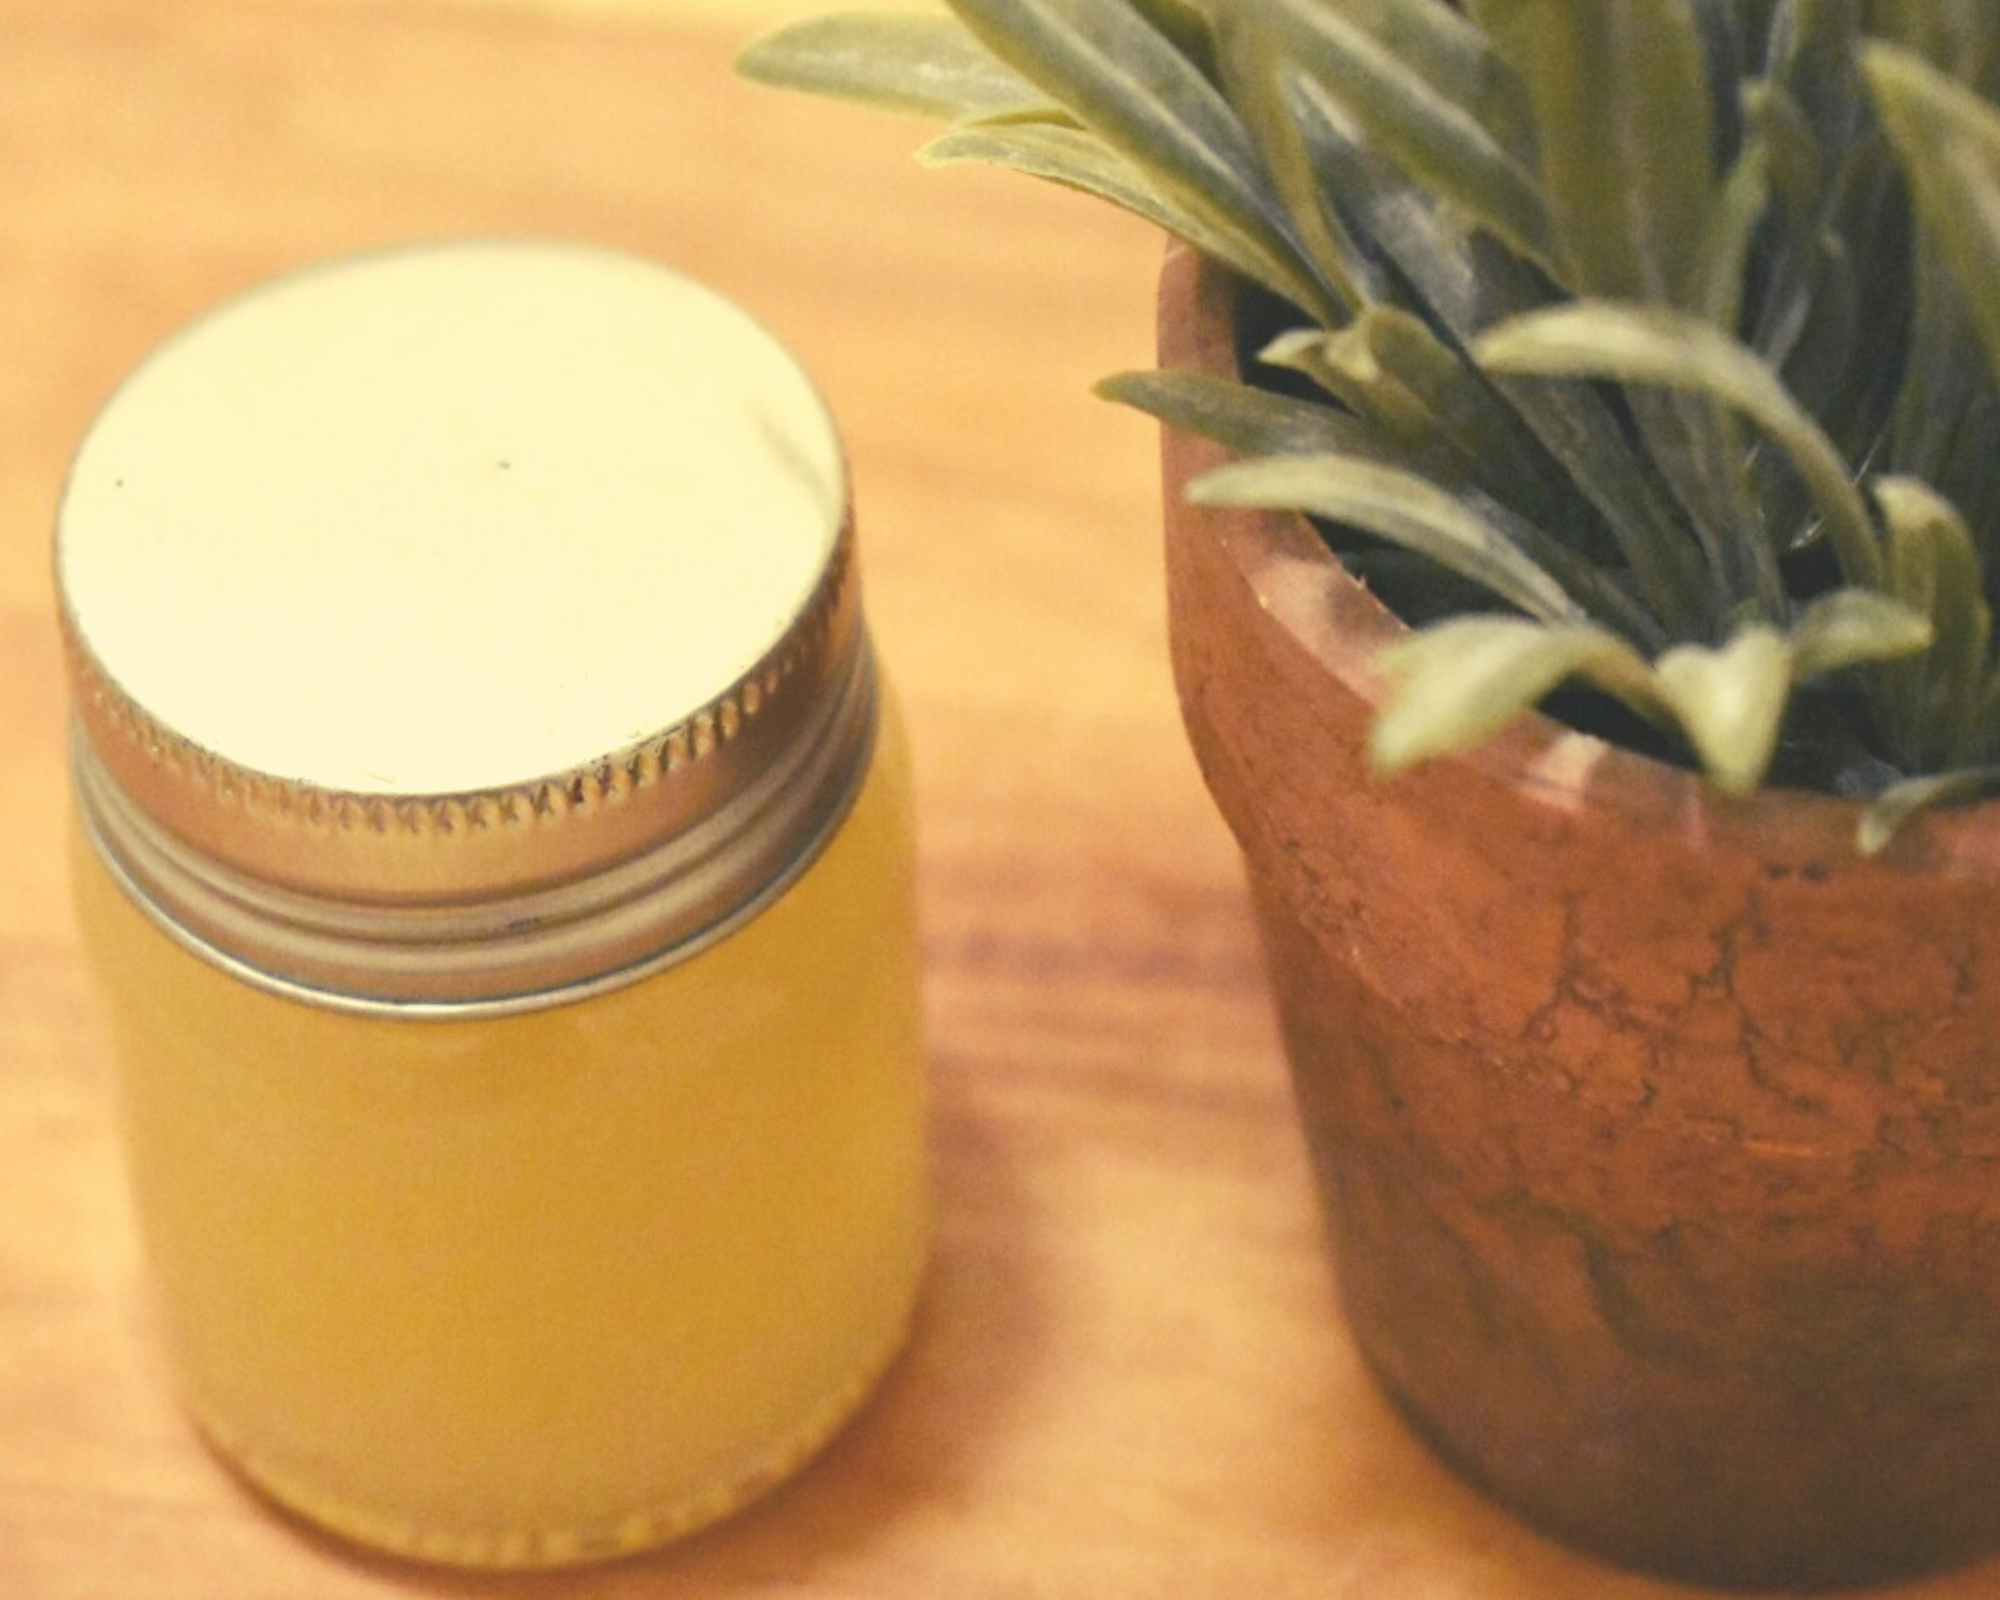
This hand scrub will only take you a minute to make, this recipe makes enough for a small jar full - but you could absolutely make a larger batch and it'll keep for up to a month.


You will need;

* 4-6 tablespoons of granulated white sugar

* 2 tablespoons honey

1. Mix the sugar and honey together in a bowl to make a paste. (Top tip - If you heat up the end of the spoon using hot water, it'll make it so much easier to get the honey off the spoon!)

2. Scoop the mixture into a cute jar and you're done!

To use the mixture just scoop less than a palm sized amount of scrub and rub it into your hands and feet whenever they feel a bit dry. Once you've rubbed it well into your skin, just wash it off and apply some moisturiser.

Try not to scrub too aggressively, gently massage it into your skin, over each finger on the top of your hands and your palms too. 

It's as easy as that! I'd love to know if you try it. I know you'll be impressed by the results!


If you have enjoyed reading this post, and found it interesting or helpful, you can say thank you and support Whimsical Mama by buying me a coffee

I'd really appreciate it! 

Homemade Hand Scrub

(Ad/Review) Absolute Goddess Handbook

We've all seen the word "glow up" floating around the internet over the past year or so, not to mention the 3 words that literally make my bones cringe "hot girl summer". Everyone wants a "glow up", a refresh, a bit of a makeover - it's exciting! But it's cliché, uninspiring and unrealistic. Hot Girl Summer is particularly derogatory, who qualifies as a "hot girl" then? I detest it. 

Then I came across the Absolute Goddess Handbook by Elizabeth @ Ice cream whispers Clara, and although it may seem similar to your typical glow up routine, or makeover tips - it's not, at all. It's so much more, and the best part is, it's all for you. Not to show anyone else, just how amazingly perfect and gorgeous you are, it's about you, learning to love the skin you are in, accentuating your beautiful natural features and realising just how freaking incredible you already are. 


Absolute Goddess Handbook Review

The Absolute Goddess Handbook is available as a digital download here, and it full to the brim with tips, advice, self care ideas, lifestyle suggestions, skincare, wellbeing tips and so much more. Transforming who you think you are into who you want to be. A real life love potion, for yourself. 

The first section of the course discusses typical beauty standards, how to use them to your advantage without succumbing to them. All about being your own person, loving the skin you are in - and making the most of your perfect, unique, natural features.

I love that Elizabeth goes into discussion and shares tips about forming a reliable, easy and functional skincare routine, she also shares a wonderful array of hair care tips. Personally though, I really love how she talks about the importance of pampering and taking care of yourself, and how to find the time to be able to do that. She is a mother too, so she knows what it means when you say "I don't have time!", but pampering is just another form of self care, and it can truely be a wonderful one. 

The next section of the course is about make up and hair, with many recommendations and routine suggestions. I mean, I've never and never will be a classic "pretty girl". I love dresses, I love make up, but I'm a hot mess - let's be honest. My hair is more often than not in a scruffy bun of some sort, my nails are often chipped and my clothes probably have some sort of food/paint/juice stains. But that's all ok, and perfectly acceptable. No one is perfect, and I certainly am not. But I still love taking a little extra time to do my make up in the mornings, I love having a long pampering bath on a Sunday night, and I love painting my nails bright colours. 


Absolute Goddess Handbook Review


There is no right, or wrong answer. In this course, Elizabeth ensures we all understand - this isn't a strict "this is how you should do it" "this is how you should look", it's all about looking after yourself, self love, no need for a glow up, when you are already pretty freaking amazing. 

The course then goes onto discuss food, wellbeing, clothing, lifestyle and so much more.
She discusses about tuning in to your inner goddess, listening to her, trying new things. Taking risks, making changes and ultimately - becoming your very best self, becoming an absolute goddess

Throughout the handbook there are many tips, ideas, suggestions - ways to help you tune into your body and mind. There are no rules. YOU make the rules, she's just helping you visualise it all. 
Absolute Goddess Handbook Review

Overall, I really love this course. I have taken a lot of notes, and inspiration throughout this course and will be implementing many aspects into my life. Reading the handbook, it feels like she is speaking to you as her friend. She's helping, suggesting, listening to your needs - without being pushy or bossy. She's a kind hearted soul, and you can really feel this when reading.

The only downside I honestly have to the course, is that I wish it came in paperback format! I'd love to have a copy on my shelf, that I could just browse through now and then, when I'm looking for a burst of inspiration or guidance. 

You can find the course here - I highly recommend checking it out! RRP £31


If you have enjoyed reading this post, and found it interesting or helpful, you can say thank you and support Whimsical Mama by buying me a coffee

I'd really appreciate it! 

homemade face mask made from oats in a jar. oats in a bowl, oats in a bowl with a spoon


Many of us love having a bit of a pamper now and then, popping on a homemade face mask always feels like such a treat! Sure you can rely on store bought face masks, but you honestly never know exactly what the ingredients are or how they will react to your skin. That's why I always rely on good, old fashioned homemade face masks. Made of all natural products, you know every ingredient in them and natural products can do absolute wonders for your skin. Face masks can help you relax, detox your skin, remove impurities, unclog pores, moisturise your skin and so much more. 

This homemade face mask is one of my personal favourites because it's so moisturising, without being oily and it's perfect for even the most dry or sensitive skin (even eczema prone skin!).

Homemade Face Mask For Sensitive Skin

The first time I made this face mask my skin was in awful condition. I used to suffer so much with eczema and even had it on my face, it would cause my face to become tight, flakey and painful and when I discovered this face mask, it was like a temporary miracle cure. It really is the most soothing, and moisturising face mask you'll ever try. So whether you have dry, sensitive, eczema prone or normal skin - I highly recommend you giving this wonderful, simple to create oat facemask a go!

homemade oat face mask in jar

Oats
Oats are well known for their fantastic skin care benefits, that's why they make the perfect ingredient for a homemade face mask. Oats are natural cleansers and will remove dirt and unclog your pores, they will soak up excess oil and can even help treat acne! Oats are antioxidant and anti inflammatory, plus they even work as a very gentle exfoliant to remove dry and dead skin too. There's nothing oats can't do! 

Natural Yogurt
Natural yogurt has many skin care benefits too, some of which are very similar to oats, but yogurt is more known for it's soothing and cooling properties. This is the key ingredient that will help revitalise your skin if it's feeling dry or sore. Yogurt is an easy way of really giving your skin a good moisture boost. It can also help to reduce fine lines, dark circles and wrinkles, it can help to fade blemishes and treat mild skin infections too. Plus, natural yogurt is full of vitamins and has antibacterial and anti fungal properties! It's a godsend for people with dry skin, trust me!

bowl with oats and natural yogurt in it. Spoon next to bowl.

How To Make Homemade Face Mask

This oat face mask is so easy to make and it'll honestly only take you a minute or two! Plus, if you make a bigger batch, it can be popped into the fridge for up to a week!

You Will Need:

* 1 cup/80g uncooked rolled oats 
* 1/2 cup natural yogurt
and that's all you need!

The cheapest, most basic ingredients work perfectly for this mask, you can normally pick up a cheap box or bag of porridge oats in the cereal aisle, and you'll simply want to look for the most basic, flavour free natural yogurt (often 50p or less) in all good supermarkets.

1. If you prefer a smoother facemask, you could blend the oats before mixing the ingredients together but I tend to skip this step myself, because I'm lazy! It makes no difference to the face mask itself, it's perhaps just a bit easier to apply if it's smooth - but it's completely optional.

2. In a bowl, mix together the oats and the yogurt straight from the fridge, it needs to be cold. Ensure you mix the ingredients together well and the oats are completely covered in the yogurts. 

3. Using clean fingers apply the mixture in small circular motions to your face, neck and décolletage ensuring you avoid your eyes, mouth and nostrils.  

4. Leave the mask on your skin for approximately 20 minutes or until it has dried. You'll feel it immediately cooling and soaking into your skin.

5. Rinse off the face mask fully, using warm water (not hot). I recommend using your hands to wash the majority of it off, and finish off with a soft wash cloth.

6. Apply your normal moisturise and admire your beautiful, soft, glowing skin.

Have you ever made a homemade face mask before? I'd love to hear if you give this one a go! 


If you loved this post, perhaps you'd like:
or


If you have enjoyed reading this post, and found it interesting or helpful, you can say thank you and support Whimsical Mama by buying me a coffee

I'd really appreciate it!